
Effective Vapor Barrier Installation: Ensuring Your Home’s Moisture Control
Understanding Vapor Barrier Installation
In the realm of home maintenance, a Vapor Barrier Installation plays a critical role in safeguarding your property’s crawl spaces and foundation. This preventative measure not only helps manage moisture but also protects the overall integrity of your home. Understanding the importance of a vapor barrier and learning how to install it can lead to significant long-term benefits.
What is a Vapor Barrier?
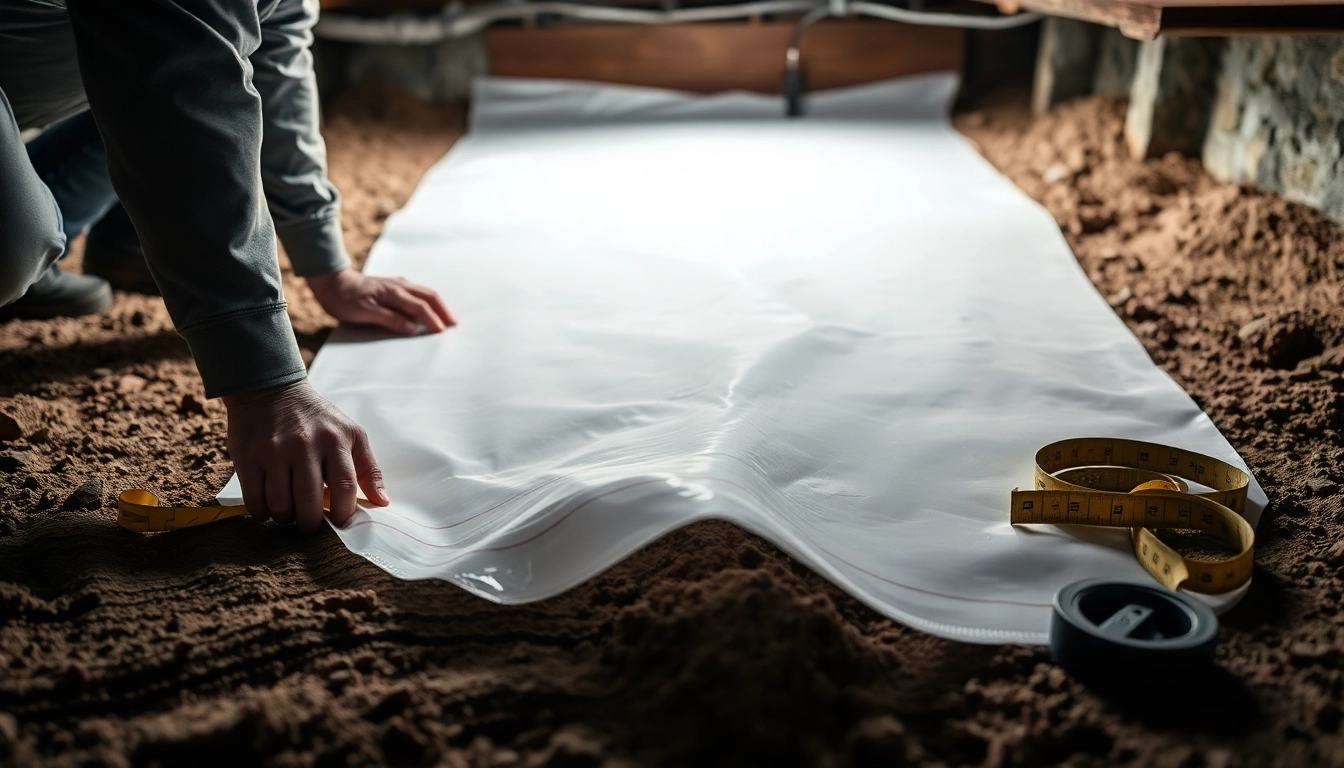
A vapor barrier is a waterproof material designed to prevent moisture from entering spaces such as crawl spaces or basements. It is typically made of polyethylene plastic with a thickness of at least six mils. When correctly installed, a vapor barrier functions like a shield, reducing humidity levels and protecting structural components from mold and mildew growth. It allows any moisture that does enter to effectively evaporate rather than accumulate, thereby promoting a healthier indoor environment.
Why is Vapor Barrier Installation Important?
The installation of a vapor barrier is crucial for several reasons:
- Mold Prevention: Excess moisture can lead to mold growth, which is detrimental to both health and property.
- Improved Air Quality: A vapor barrier minimizes humidity, thereby producing cleaner, fresher air in your home.
- Energy Efficiency: By controlling moisture, it enhances your home’s energy efficiency, reducing heating and cooling costs.
- Structural Integrity: Protecting wooden foundations and beams from moisture preserves the integrity and longevity of your home’s structure.
Key Materials Used in Installation
To achieve effective results, several materials are essential for vapor barrier installation:
- Polyethylene Sheeting: This is the primary component of any vapor barrier, typically ranging from six to twenty mils in thickness.
- Tape: Specially designed vapor barrier tape is vital for sealing seams and penetrations to maintain continuity.
- Fasteners: Utilizing appropriate fasteners for attaching the vapor barrier to walls and floors helps ensure its stability.
- Sealant: Caulk or sealant can be important for sealing around pipes and other penetrations.
Preparing for Installation
Assessing Your Crawl Space Conditions
Before embarking on your vapor barrier installation, a thorough assessment of your crawl space is necessary:
- Moisture Levels: Conduct a moisture test to determine if excess dampness is present.
- Structural Condition: Check for signs of water damage or rot in wooden structures.
- Pest Presence: Look for any indicators of pest infestation, which can be exacerbated by high moisture.
Gathering Necessary Tools and Materials
The next step involves collecting all necessary tools and materials to facilitate a smooth installation:
- Polyethylene sheeting
- Vapor barrier tape
- Utility knife
- Measuring tape
- Paint roller or brush (for adhesive application)
- Safety gear (gloves, goggles, mask)
Safety Precautions and Considerations
Safety should be paramount during the installation process:
- Ensure proper ventilation in the crawl space.
- Wear protective clothing to avoid contact with any chemicals.
- Utilize kneepads to protect your knees from the hard surfaces.
The Installation Process
Step-by-Step Guide to Proper Installation
Follow these steps for a successful vapor barrier installation:
- Preparation of Area: Clean the crawl space of debris and any existing materials that could hinder placement.
- Measure and Cut: Measure the dimensions of the crawl space and cut the polyethylene sheeting to fit, allowing extra at the edges for sealing.
- Lay the Vapor Barrier: Carefully lay the polyethylene sheeting over the ground, ensuring it overlaps seams by at least 12 inches.
- Sew and Seal: Use tape or adhesive to secure all seams, and opt for heavy-duty sealing around areas where the barrier meets walls, pipes, or other fixtures.
- Final Checks: Inspect the barrier, ensuring there are no gaps or tears, and make necessary adjustments.
Common Mistakes to Avoid
During the installation process, avoid these frequent pitfalls:
- Ignoring moisture issues before installation can compound problems later.
- Failing to secure seams properly may lead to water penetration.
- Using inadequate materials can reduce the efficacy of the vapor barrier.
Finishing Touches for Effective Sealing
To ensure a resistant seal, follow these final steps:
- Double-check the tightness of all seams and sealing points.
- Use additional fasteners along the perimeter if necessary for added support.
- Document the installation process for future reference, especially for inspections.
Maintaining Your Vapor Barrier
Regular Inspections and Maintenance
Conduct regular inspections to uphold the functionality of your vapor barrier:
- Inspect the crawl space typically once a year, looking for signs of wear and moisture.
- Check for any signs of pests or water leakage.
- Perform immediate repairs to any detected issues to prevent further damage.
Signs Your Vapor Barrier Needs Attention
Be vigilant for indications that your barrier may require maintenance:
- Increased humidity levels in the crawl space or home.
- Visible mold growth or musty odors.
- Condensation forming on pipes or surfaces.
Seasonal Considerations for Maintenance
Different seasons may pose unique challenges that require attention:
- In spring, check for water pooling due to melting snow or rain.
- During summer, monitor humidity and ventilation closely.
- In fall, ensure debris from foliage does not block drainage.
FAQs on Vapor Barrier Installation
What is the best type of vapor barrier?
The best type of vapor barrier is typically made of durable polyethylene sheeting, with a thickness of at least 6 mils for effective moisture control.
How thick should a vapor barrier be?
A vapor barrier should ideally be at least 6 mils thick. However, thicker options (up to 20 mils) offer greater durability and resistance.
Can I install a vapor barrier myself?
Yes, a vapor barrier can be installed by a determined homeowner, provided they follow proper procedures and safety measures.
How long does a vapor barrier last?
With proper installation and maintenance, a vapor barrier can last 10-20 years, depending on environmental conditions.
What happens if a vapor barrier is not installed?
Failing to install a vapor barrier can lead to increased moisture levels, which contribute to mold growth, structural damage, and poor indoor air quality.